
|
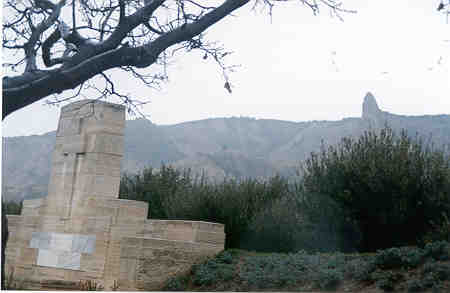 This is the northern end of the Anzac Cove beach, the point called Ari Burnu. You will see it in other photos taken later from up on the hill. Every cemetery has a cross and graveyard similar to this one. Behind the view of the cross at Ari Burnu Point Cemetery, you can see the unusually shaped hill point, which the Anzacs quickly named, "The Sphinx". This was named after the Sphinx statues in Egypt, where the soldiers had just come from. |
|
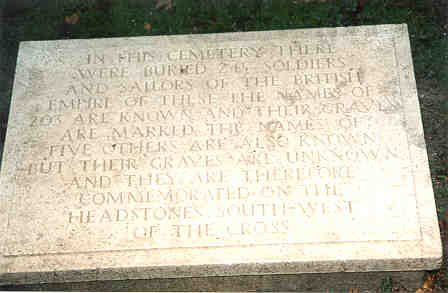 On the Ari Burnu Point headland, there is a graveyard. There are many cemeteries all over the battlefield. The soldiers were buried close to the areas where they died. This is a photo of the headstone in front of the cemetery. Every cemetery had a headstone similar to this one at the entrance explaining who was buried in the cemetery. |
||
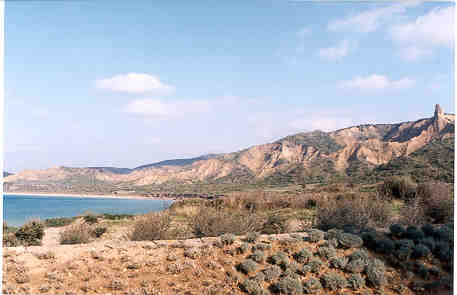
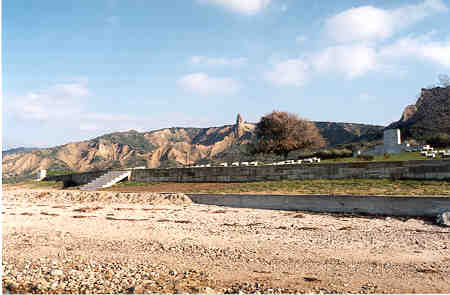 The view from the water's edge looking up towards the cemetery and on to the Sphinx. As you can see, the sides of the slopes are vertical. Many Australians climbed up those slopes on the morning they arrived as they raced to get in to position to attack the Turks. The flat edge of the hill behind the Sphinx marks the beginning of Russell's Top. Walker's Ridge runs down to the left. |
||
 The Sphinx: Russell's
Top: Wellington
Terraces: The Great
Sap: |
||
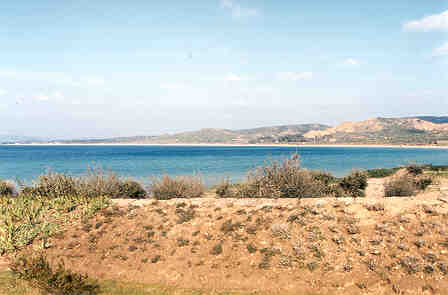 The view away to the north. There are a few farm houses in the trees in the middle of the picture, with more houses scattered along the coast right to the left. None of them were there in 1915. Fisherman's Hut was the only building in the area in 1915. That would have been about where the houses are now. The sea in this area must be quite good for fishing, as I noticed a group of big fishing boats just off the coast, and men fishing with nets from the shore along Brighton Beach. |
||
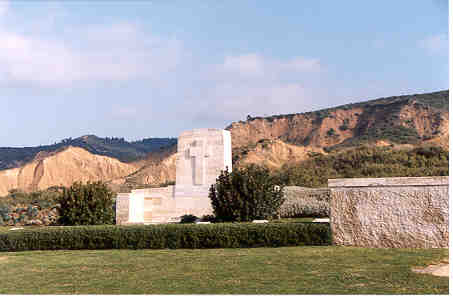 The Canterbury Cemetery. Here many men from the Canterbury Regiment are buried. The top of the white New Zealand memorial on Chunuk Bair can just be seen above the trees to the left of the cross. |
||
|
|
||
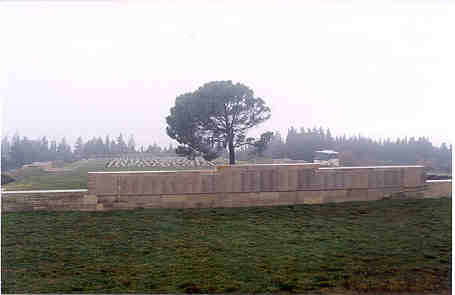
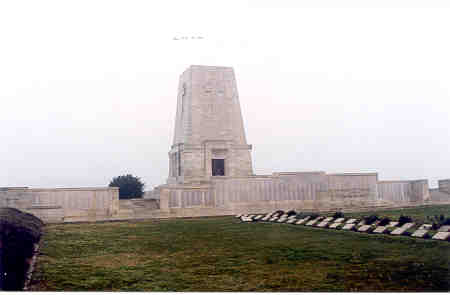 The Australian Memorial at Lone Pine. This is also the site of the famous battle during August attacks. The headstones are now on top of where the battle took place. |
||
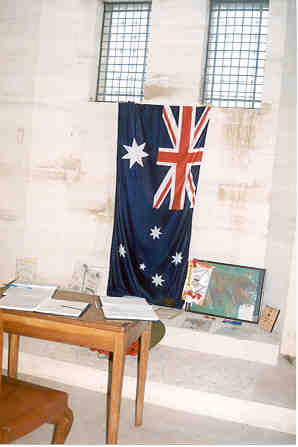 Inside the Memorial, the flag, the visitors' book, and the messages from school children in Australia. |
||
The view north from the steps of the Lone Pine Memorial. It was across this flat land that the Australians charged. The trenches were just 10 metres apart in the middle. The Australians took the Turks by surprise. After a very heavy bombardment by artillery, suddenly the Australians burst out of a secret tunnel onto the Turks. They dropped down through the roofs of the Turkish trenches, fighting in the dark. The battle went on for 4 days and nights, hand to hand, each side killing each other with knives and bayonets. It was incredibly savage, desperate and brave by both sides. |
||
 The Johnstone's Jolly Cemetery Cross, looking back towards Lone Pine. |
||
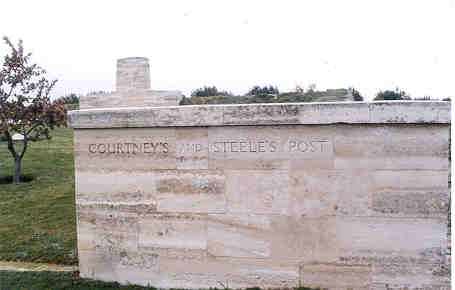 The entrance to Courtney's and Steel's Post Cemetery. The cross is the one which can just be seen in the picture from the bottom of Shrapnel Gully. |
||
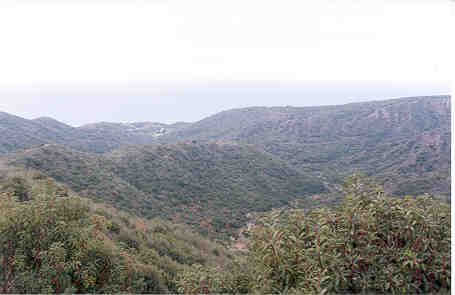 From behind the Cross in the picture above you get this view right down Shrapnel Valley to the coast at Shell Green. The next picture shows the view from the bottom, beside Shell Green, looking back up the valley. Monash Gully is on the right. Plugge's Plateau is the flat area on the top. Anzac Cove is behind Plugge's Plateau. Had the Turks managed to break through, down this valley, the whole of the Anzac landing would have been destroyed. |
||
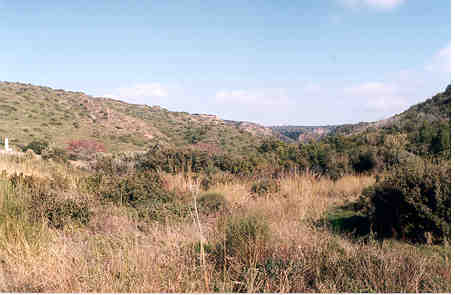 Looking up Shrapnel Valley from the bottom, at Shell Green. The Cross at Courtney's and Steele's Posts Cemeteries is just visible on the skyline. That is where I stood to take the photo above. The white patch on the cliff face is where Courtney's Post actually was. The cemetery on the left is called Shell Green. The hill above on the left is Plugge's Plateau. Anzac Cove is just around the corner to the left. The photo below was taken from nearly the same spot. |
||
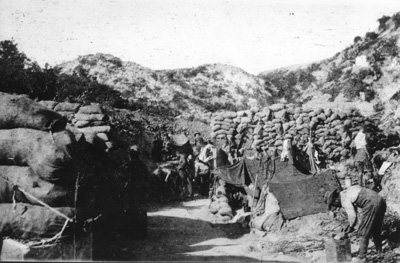 This photo is taken from nearly the same spot as the one above. The sandbags are there to try to give some cover from snipers and from shrapnel exploding in the air above the men. To get up the valley the men had to sprint from sandbag cover to sandbag cover. |
||
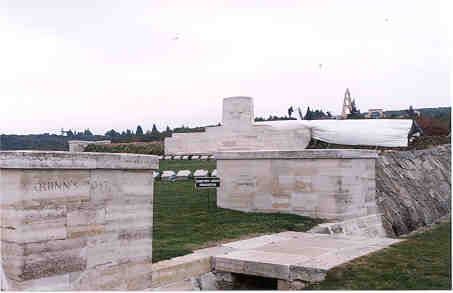 The entrance to Quinn's Post Cemetery. Behind is the Turkish statue of a soldier, with the Turkish Memorial on the other side of the road. The white sheet behind the cross is covering some workers who were making repairs to the wall around the Cemetery. It was mid-winter when I took these photos, remember. Every cemetery is in beautiful condition, with maintenance constantly going on. The excellent condition of these cemeteries honours the men who died there at Gallipoli, and it is a credit to the Turkish workers who carry out the work. |
||
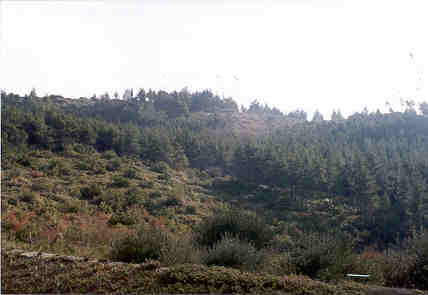
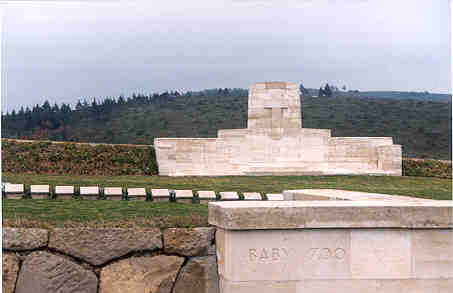 Baby 700 was an important hilltop to capture for the Anzacs. It was just as important for the Turks to hold it, as it allowed the Turks to cover lots of slopes and valleys where the Anzacs were trying to get up. Many of the first New Zealanders ashore on that first morning were sent up to fight on the slopes of Baby 700, and many more of them were to die there, both on that first day, and also as the battles went on over the coming months. This is the entrance to the Baby 700 Cemetery. |
||
 Looking from The Farm Cemetery, back up to the top of Chunuk Bair. You can see the top of the New Zealand Memorial poking up above the hill line. The Wellington men scrambled up the slope on the right, to the top of Rhododendron Ridge, and attacked the Turks with a rush going from right to left across the top of the picture. |
||
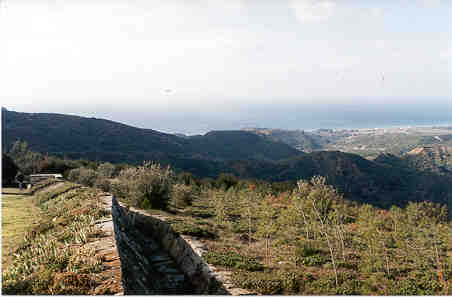 This looks back down Rhododendron Ridge from The Farm Cemetery, down towards Ocean Beach. You can see a few houses away in the distance. The hill poking up straight in front was called Table Top, and the Wellingtonians came up and over that hill. I walked along a small car track to the end of Rhododendron Ridge with my friend Mike, and began the long climb back up to the top of Chunuk Bair. |
||